How to Install Door and Window Alarm Sensors: Placement, Gaps and Final Testing
.sl-alarm table{border-collapse:collapse;width:100%;margin:24px 0}.sl-alarm th,.sl-alarm td{border:1px solid #bccbd0;padding:12px;text-align:left;vertical-align:top}.sl-alarm th{background:#edf4f2}.sl-alarm .table-scroll{overflow-x:auto}.sl-alarm figure{max-width:800px;margin:28px auto}.sl-alarm img{display:block;max-width:100%;height:auto;margin:auto}.sl-alarm figcaption{font-size:14px;line-height:1.6;color:#435b62;padding-top:10px}
The app says the new sensor has connected, so you stick both pieces beside the door and move on. Later, the door opens without changing the displayed state—or it reports open whenever the frame moves slightly. Pairing proved that the electronics could communicate at that moment. It did not prove that the sensor could reliably detect the moving door.
Install a magnetic contact with its sensor and magnet on opposite moving and fixed parts of the opening, within the exact model’s allowed alignment and gap. Test at the intended location before permanent mounting, then test again with the door or window operating normally. This guide covers surface-mounted intrusion contacts, not concealed hardwired zones that require professional wiring work.
Confirm what the sensor is supposed to detect
A conventional magnetic contact reports a change in the relationship between its two parts. It does not necessarily determine whether the lock is engaged or whether the glass has broken. A closed but unlocked door can therefore appear closed in the app.
Decide which moving part needs monitoring. A sliding window may have more than one operable sash, while French doors have separate leaves. One contact placed without considering that movement can leave part of the opening unverified.
Our sensor comparison explains why contact, motion and glass-break detectors serve different jobs. Fix a defective latch or insecure window independently; an electronic closed status is not a physical repair.
Buy for the system and the opening
Check the exact sensor generation, supported hub and regional version. A familiar brand name or the word wireless does not establish compatibility with the alarm you own. A smart-home contact may send notifications without functioning as an intrusion zone in that alarm.
Check environmental suitability too. An indoor contact on an exposed garden gate is not protected merely because its batteries are inside plastic. Outdoor-rated products have their own mounting, gap and operating requirements.
For a leased or shared building, obtain permission before permanent alterations. Do not drill into a rated door or unknown metal frame simply because a sensor package contains small screws. Adhesive mounting may be supported, but it still needs an appropriate surface and permission.
Enroll and name one device at a time
Follow the product’s add-device sequence and verify the name before opening another package. Labeling a sensor front door while holding the kitchen device creates an avoidable problem later, especially when an alarm event is reported only by the stored name.
Choose a specific location such as kitchen left window rather than sensor 4. Where a system uses zone numbers, keep an accurate private location list as well. Do not put passwords or administrator codes on the sensor label.
Confirm that the panel has accepted the device, then test communication at the proposed mount with the opening closed. A successful pairing beside the hub does not establish reliable communication at the far side of the house.
There is no universal sensor gap
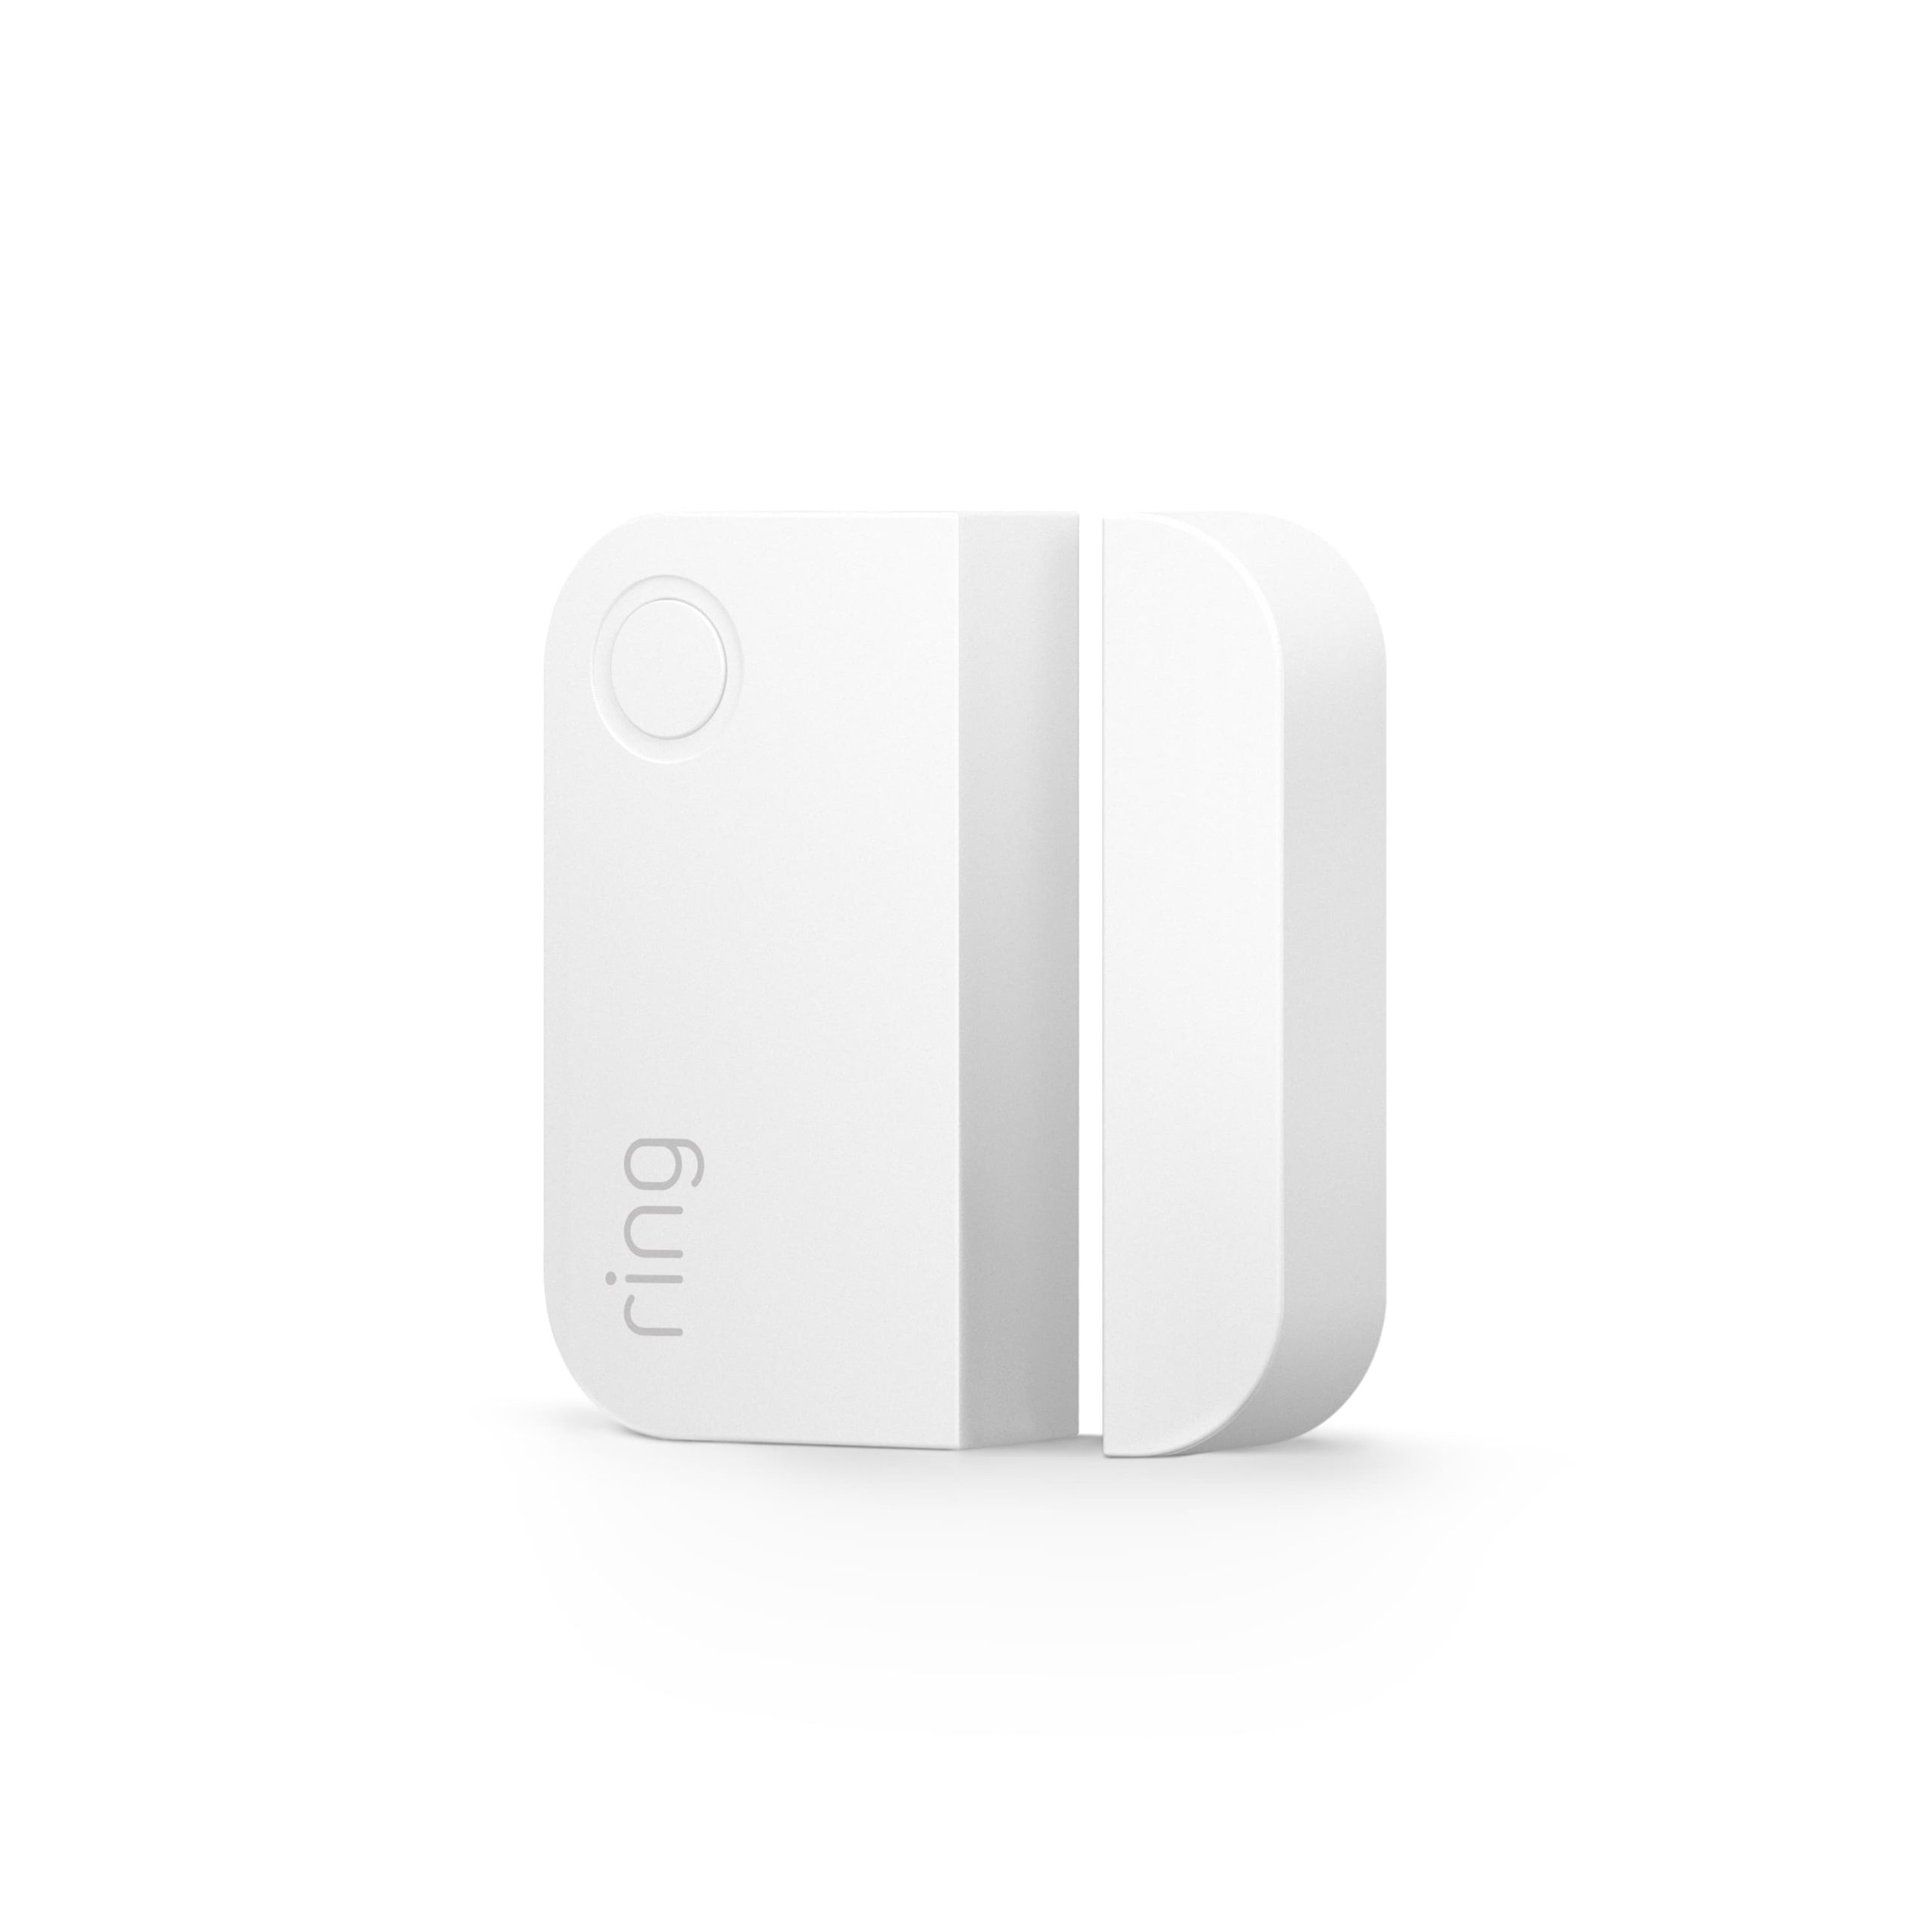
Ring’s positioning guidance lists different maximum separation for its first- and second-generation contacts: approximately half an inch and one inch respectively. It also reserves removal clearance for battery servicing. Those figures illustrate why the generation matters rather than providing one dimension for every alarm.
SimpliSafe’s current installation steps specify a closed-position gap of no more than 1.5 inches for the described Entry Sensor. Follow the installation steps and exact device documentation, not an isolated marketing sentence about operating range.
Do not aim to sit exactly on the maximum limit. A supported position with comfortable margin is more forgiving of normal movement and mounting tolerances. Test the real opening rather than assuming a ruler reading proves every part is aligned correctly.
Place the pieces so opening the door changes the state
For an ordinary hinged door, one part goes on the leaf and the other on the frame in a permitted orientation. Avoid placing both on the same moving leaf or both on the fixed frame. That may look tidy while failing the basic detection job.
Use the maker’s alignment marks and placement instructions. The hinge-side geometry may create too little separation during an opening, and some manufacturers explicitly direct users elsewhere. Do not assume a photograph of another person’s installation provides the right position for yours.
Close the door gently, latch it and open it through normal travel. Confirm both open and closed reports. Check that the sensor body, handle or neighboring hardware does not collide with either component.
Handle recessed frames and decorative trim deliberately
A deep frame can leave the two mounting surfaces on different planes. An approved spacer, riser or alternative orientation may solve that geometry, but the parts still need to meet the sensor’s allowed alignment. Stacking unstable pieces of foam can introduce a new movement problem.
Check space to remove the sensor cover and replace batteries. A device wedged tightly against the ceiling or trim may require destructive removal for routine servicing. Keep any protective cover and mounting plate functioning as intended.
Before committing to adhesive, hold the parts in the proposed position and verify the change in state. This small trial is preferable to repeatedly peeling hardware from a freshly painted frame.
Metal doors deserve a separate trial
Metal can affect mounting and wireless behavior, and the manufacturer may specify additional spacing or a particular arrangement. Test on the actual door rather than rejecting the sensor or relocating the hub based only on the material name.
Use only the supported spacing or accessory for that product. A recommendation for one contact’s metal mounting should not become a universal instruction to insert cardboard beneath every sensor. Check the current manual and whether the proposed arrangement remains secure over time.
If communication works nearby but not on the metal frame, document both results for support. A weak network path and poor magnet alignment are different faults, even when both appear as an unreliable door status.
Sliding windows, double doors and more than one moving section
Map every part that opens. For a double-hung window, confirm whether the chosen arrangement detects movement of both sashes or only one. For two door leaves, test each relevant leaf rather than assuming the one used daily is the only possible movement.
A contact can sometimes be fitted between two moving parts in an approved arrangement, but that is not a universal solution. Follow the product’s installation examples and the opening’s mechanics. The alarm should report the event you intended, not merely one convenient motion.
For ventilation positions, do not improvise an arrangement that makes an open window appear fully secured. A manufacturer’s approved open-window accessory still has defined limitations and does not give the same physical protection as a closed, locked opening. See our window ventilation guide.
Prepare the surface and choose a mounting method
Use the cleaning and drying method approved for both the sensor adhesive and the surface finish. Do not assume an alcohol cleaner is harmless on every painted or coated material. Apply the mounting pressure and waiting period specified by the actual product.
Use appropriate screws only where the maker and property owner permit them. Check concealed services, glazing edges and door-construction restrictions before drilling. The screws supplied in a packet do not establish that every possible substrate is suitable.
Keep the mounting plate straight and avoid overtightening that distorts the housing. The cover should fit normally afterward. A sensor that is forced onto a twisted bracket can produce a tamper condition even when the magnetic gap looks correct.
Configure the opening’s role in the alarm
Physical installation is only half the job. Choose the correct device role and the modes in which it should participate. A designated main entry may need an authorized entry delay, while another opening may have a different response.
The Stay, Away and Night guide explains how these assignments affect ordinary household movement. Do not remove a sensor from every mode just to stop warnings during installation and then forget to restore it.
Check whether an open or faulted sensor is bypassed when the system arms. If that is the configured behavior, an armed indication alone does not prove the newly fitted entrance is included.
Run two tests, not one
The communication test establishes that the panel can hear the identified device at its installed location. Use the system’s approved test workflow, with monitoring arrangements coordinated beforehand. A local LED alone is not a complete reporting test.
The opening test establishes that the magnet and sensor detect the door or window moving. Observe the intended state change during ordinary opening and closing, and verify that the correct named zone reports it.
SimpliSafe’s testing guide distinguishes pressing a contact’s test button from opening the fitted door or window. That distinction is useful across installations, even though the exact testing sequence is product-specific.
Keep an installation record
| Record | Useful example |
|---|---|
| Device identity | Model, generation and private serial reference |
| Location name | Kitchen left sliding window |
| Protected movement | Which sash or door leaf is detected |
| Mode assignment | Required occupied and empty-home modes |
| Test result | Open and closed states received at the panel |
| Maintenance access | Cover can be removed without disturbing the installation |
Recheck after painting, replacing a door, adjusting hinges or moving the sensor. Those changes can alter physical alignment without deleting the device from the app.
When a new contact still reports open
Check the exact device name, permitted gap, alignment and actual cover position. Then compare communication close to the panel with the installed location through the approved procedure. Do not reset every sensor because one newly mounted contact fails its test.
Use our door-sensor fault guide for the detailed diagnostic branch. A functioning lock and a correctly reported contact are separate checks; confirm both before relying on the entrance.
Frequently asked questions
Must the larger sensor go on the frame?
Some products allow either arrangement, but not every mounting orientation is equivalent. Follow the exact model’s diagram and verify movement and servicing clearance.
Can I use one contact for two windows?
Only where the actual movement and manufacturer-supported arrangement provide the required detection. Two separate openings should not be assumed covered by one nearby device.
Does a closed sensor prove the door is locked?
No. An ordinary magnetic contact generally reports position, not bolt engagement. Keep the physical locking check in the household routine.
The alarm directory connects this installation work with monitoring, sensor selection and troubleshooting. Finish with verified behavior, not simply an app message saying the device was added.